Moving Motion Backgrounds
|
This motion background as it looks like an old wall rotting away and old things are always represented in horror as being haunted. Even though its a little plain it still with look good with titles.
|
This looks like bits of shattered glass and scruff marks which looks like some one has tried to escape, this links into horror but although the colous are dark the colous don;t really match our sub genre of paranormal these colours remind me of supernatural aliens.
|
This back ground looks like rusty metal or burning wood. This could be used for horror as the flickers of light and the orange look like fire and fire is common in horrors. This was the motion background to our last years distributor.
|
|
Flames are dangerous and many horror films involve fire at the end when escaping, so fire could be a good one but it doesn't link with our sub genre well enough.
|
This is good for a horror as the weather is always raining or stormy when something bad is going to happen. However is do like the odd shapes it makes when the rain drop lands, it becomes to light for a horror.
|
This moving background is good as it looks mysterious and reminds me of dark clouds in a nights sky. This looks like it could be horror as the colours are dark. This would look nice with red blood titles.
|
Rebecca White
Editing
Much of the attention centres on the directing of the moving image text these have a vital role. However the best material shot, in the production phrase, can be ruined if the editing is really bad. Editors are often the unsung heros in the process. In looking for analogies with the writing process, it is the editors job to splice together of the various shots into the sequence, to create meaning through syntax, which comes closest to the craft of writing.
At one level, an editor is concerned with shot transitions- the way in which we move from one space to another. There are four main ways we can do this.
Cut - cutting can be sub-divided into two types
- Match Cut: since the object of the match cut is to be 'invisible' to the viewer, it is usually simply a called a cut. It is where one shot immediately followed by another which matches action or subject or subject matter so it appears seamless.
- Jump Cut: where an abrupt cut between two shots calls attention to itself because it is not matching time or space. The viewer 'jumps' because the film goes from one time and/or space into another without an explanation.
Dissolve - where the first shot fades in over the second as a superimposition.
Fade - Fade-in is where the scene appears from black (marking the beginning) Fade-out where the scene fades into black (marking the end)
Wipe - Where the second shot emerges from the first shot with a flowing horizontal, vertical or other more elaborate transition.
Rebecca And Maisie
Continuity Editing - Developed to ensure that the style of film making did not intrude on the main objective of classic narrative cinema. The object of the exercise is to simulate reality. Nothing in it should draw attention to the fact that it is a group of peoples construction of their version of reality. To draw attention to the fact that, despite the intention, film is never merely a 'window on the world' Jean-Luc Godard used a snappy aphorism: film is never a 'reflection of reality', he said, it is merely 'the reality of reflection'.
So continuity editing is used to ensure that, despite the fact that the camera will move about during any one scene, (i.e. the various shots in a sequence are taken from different positions on the set), the audience isnt confused. There are a few simple rules which, if observed, will keep us, as viewer, inside a cosy and unambiguous 'reality'.
180 Degree Rule - An important feature of continuity editing '180 degree rule'. To observe this 'rule', the camera needs to establish an axis line between two characters. Once the establishing shot has been taken, the camera should always stay the same side of the axis, only operating in 180 degrees of the space the space. All that is very complicated to explain in words and the beauty of it is that the audience for film/tv understand these rules but would not be able to describe them. The two clips on the tape will, however indicate clearly what happens if you do not observe the rule and 'cross the line' as film makers call it.
30 Degree Rule - Whenever a camera position is changed it must move at least 30 degrees in relation to the person in relation to the person or object it has just been filming.
Crosscutting Or Shot/Reverse Shot - Once you have established the scene, a common convention is to crosscut between characters. So you would move from the first establishing LS onto a second MS of one of the characters. You would then crosscut, using the reverse-shot, for the third shot of the sequence. You would continue this crosscutting, possibly using a re-establishing LS if it went on for very long.
Match Cutting - Based on visual continuity, significance and similarity in angle or direction. A typical example would be eye-line match: in the first shot the actress looks off-screen and in the next shot we see what she is looking at. Another example would be matching matching screen direction. This will be important where a scene has more than one character. If one character is following another, then the logic is to have them both moving across screen in the same direction while cutting between the two of them. If, however, they are travelling to a rendezvous point for a meeting, the convention would be to have one moving right-to-left and the other moving right-to-left.
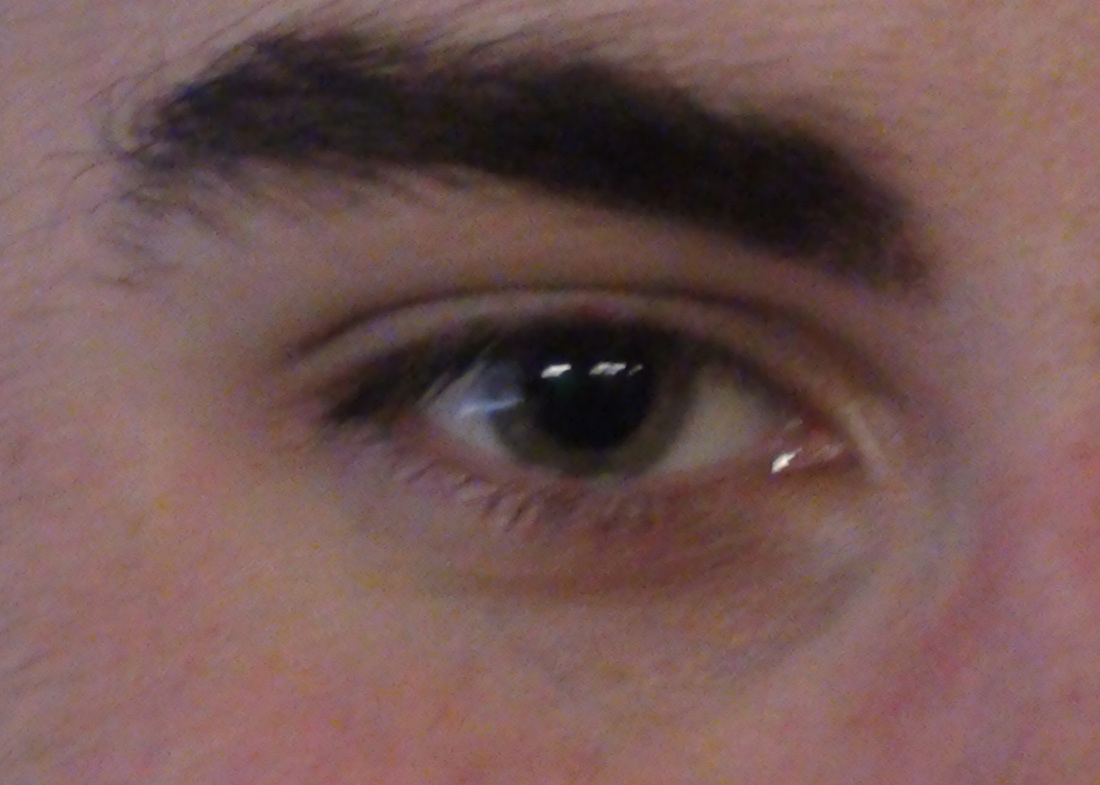
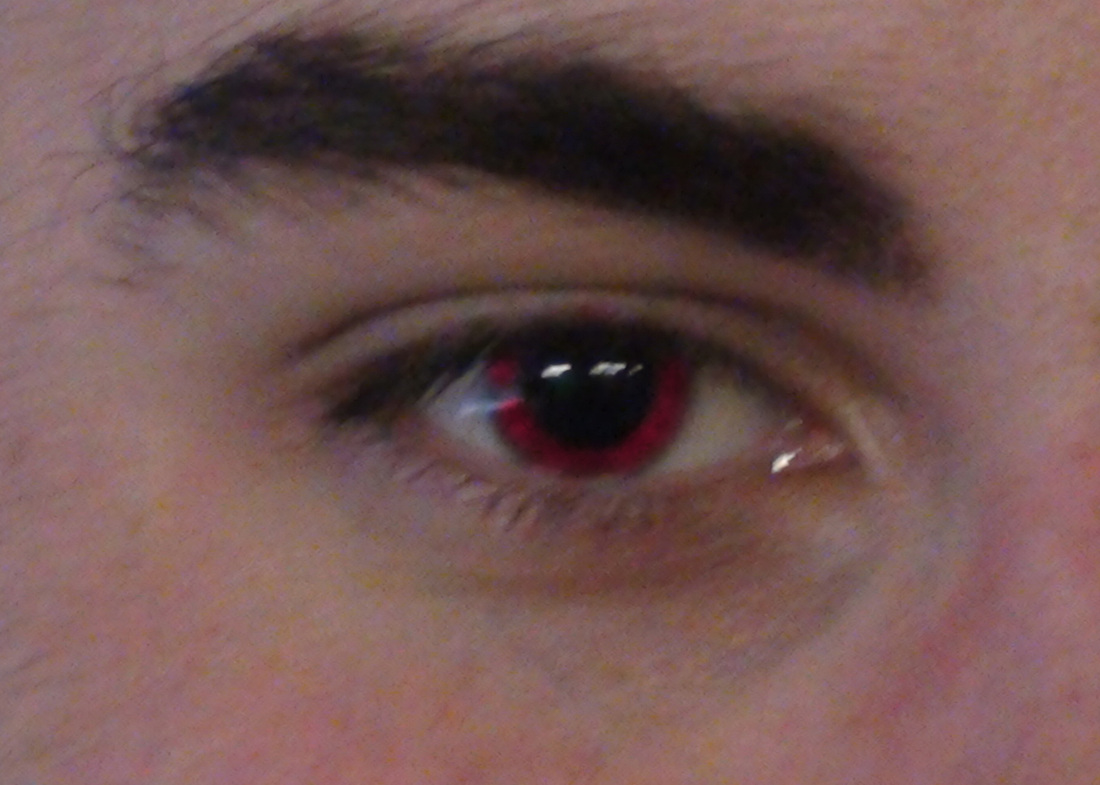
Photo Shop
|
|
I did this by using the magnetic tool and dragging it around the circle of the eye, before we did that we feathered it 15%. We then copied the layer to make sure we could keep the blackness of the pupil. We adjusted the colour of the eye to a red we like, once we did this we put the other layer in front and started to rub out the real colouring of the eye. This then brings through the redness of the eye under neath. We kept the white shine to the left of the eye to make sure it looks realistic.
Rebecca, Kirsty and Sam.
Rebecca, Kirsty and Sam.
